Most of us spend a fair amount of time standing in the kitchen each day. We wait for the morning kettle to boil, watch soup simmer on the back burner, or rinse vegetables at the sink. Because kitchen counters are heavy, bolted to the wall, and sit at a convenient height of about 36 inches, they make an ideal training rail. You do not need special equipment or dedicated athletic gear to work on your footing. You only need a firm surface, flat flooring, and a few quiet minutes while your daily chores unfold.
Balance is not a fixed trait that vanishes without warning; it is a physical skill that responds directly to regular practice. When you challenge your body to stabilize itself in small, controlled ways, your nerves and muscles remember how to react when you hit an uneven sidewalk or a loose rug. In this guide, we walk through practical movements you can practice alongside your countertop, focusing on steady posture, ankle resilience, and confidence in your daily steps.
How Everyday Balance Slowly Shifts with Age
Our ability to stay upright depends on a three-part conversation between the eyes, the inner ear, and the sensory nerves in our joints and feet. As the calendar turns, each of these systems experiences quiet changes. Nerve endings in the soles of our feet become slightly less sensitive to subtle changes in floor texture. The fluid in the inner ear responds a fraction of a second slower to head turns, and the muscles that support our ankles can lose tone if we spend long stretches sitting down.
Because these shifts happen gradually over 10, 20, or 30 years, we often adjust without realizing it. We might widen our stance while brushing our teeth, or hold onto furniture as we walk down a hallway. These small habits keep us comfortable, but they can also allow our stabilizing muscles to grow complacent. When a muscle is not asked to balance your body weight, it loses the fast reflex needed to correct a sudden trip or stumble.
The encouraging reality is that your neuromuscular system retains its ability to adapt well into your seventies, eighties, and beyond. Practicing focused balance drills challenges the body to rebuild those pathways. By placing yourself in safe positions that demand tiny corrections from your feet and hips, you remind your brain how to recruit the right muscles at the right moment.
Setting Up a Safe Stance at the Counter
Before you begin any movement, take a moment to look at your surroundings. Kitchens can have slippery tile, stray water drops near the sink, and throw rugs that slide underfoot. Safety starts with clearing your workspace so you can concentrate on your posture without worrying about your footing.
We recommend kicking off this routine by addressing three physical details in your kitchen:
- Floor check: Move any decorative rugs or runners out of the area. Stand on bare, clean flooring so your feet make direct contact with a level surface.
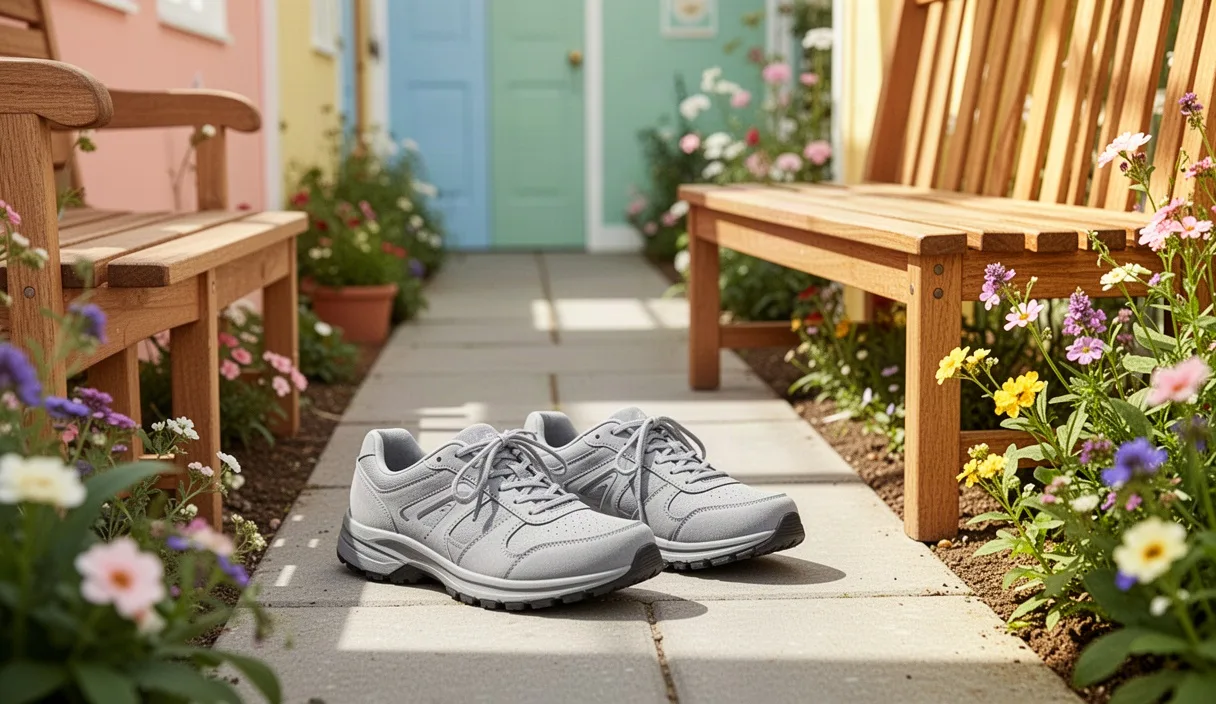
- Footwear choice: Wear a supportive, closed-toe shoe with a rubber sole, especially when you are starting out. Avoid walking socks or smooth-soled slippers, which offer little traction on hardwood or tile. If you prefer bare feet, ensure the floor is completely dry.
- Hand position: Stand facing the counter, keeping your body roughly 4 to 6 inches away from the edge. Rest both hands lightly on the countertop. Your elbows should have a gentle bend, neither locked straight nor tucked tight against your ribs.
Once your hands are set, check your spine. Imagine a gentle string pulling upward from the crown of your head. Relax your shoulders down away from your ears, unlock your knees slightly, and distribute your weight evenly between your left and right sides. This relaxed, tall posture is your home base.
The Heel-to-Toe Tandem Stand
When we walk normally, our feet stay a few inches apart, giving us a wide base of support. The tandem stand narrows that base into a single line, much like walking on a garden curb. This forces the small lateral muscles in your ankles and hips to work much harder to keep you upright.
Follow these steps to perform the tandem stand safely:
- Position your hands: Place both palms flat on the counter edge in front of you.
- Align your feet: Place your right foot directly in front of your left foot, so your right heel touches the toes of your left shoe. If this feels too tight, start with your right foot slightly ahead and an inch to the right, creating a staggered stance.
- Find a visual anchor: Pick a fixed spot on the wall or window straight ahead at eye level. Looking down at your feet can make you feel wobbly; keeping your gaze forward helps your inner ear orient itself.
- Lighten your touch: While maintaining your stance, lift your palms so that only two fingertips from each hand rest on the counter. Hold this position for 15 seconds while breathing slowly.
- Switch sides: Step back to your neutral stance, pause for two breaths, and place your left foot in front of your right. Repeat the hold.
If you feel steady after several days of practice, you can reduce your hand support to a single finger on each side. If you ever feel off balance, simply place your whole hand back down or step your front foot out to the side. The counter is always right there to catch you.
Slow Heel and Toe Raises for Ankle Strength
Ankles act as the hinges of human walking. When you step off a curb or navigate a garden path, your calves and shin muscles make continuous, lightning-fast adjustments. Raising onto your toes builds strength in the calves and Achilles tendons, while lifting your toes strengthens the tibialis anterior, the muscle along the front of your shin that helps you clear your foot off the ground to prevent scuffing.
To perform slow heel raises:
- Stand with your feet parallel and hip-width apart, fingers resting on the counter.
- Press down through the balls of both feet and rise up onto your toes over a count of 2 seconds.
- Pause at the top for 1 full second without leaning your chest forward over the counter.
- Lower your heels back to the floor slowly over a count of 3 seconds. Resisting gravity on the way down is where significant strength is built.
- Perform 8 to 10 repetitions, keeping the motion smooth and quiet.
Once you finish the heel raises, transition immediately to toe raises. Keep your weight centered over your heels, engage the front of your shins, and lift the front half of both feet off the floor. Your toes should point toward the ceiling while your hips stay relatively square; try not to push your bottom far backward. Hold the lift for 1 second, then lower your toes gently back to the floor. Complete 8 to 10 controlled repetitions.
Single-Leg Taps While Keeping Two Fingers on the Surface
Every time you take a step down the street, you spend a brief moment balanced entirely on one leg. Single-leg taps mimic that dynamic movement, training your standing hip to hold your body weight while your other leg moves through space.
Start by resting two fingers of each hand on the edge of the counter. Shift your weight smoothly into your left foot, unlocking your left knee just a tiny bit so it does not feel stiff. Keep your torso tall and your pelvis level. From this position, you will tap your right foot to three separate points on the floor, returning to center after each tap.
| Tap Direction | Muscles Engaged | Balance Benefit |
|---|---|---|
| Forward Tap | Standing glute, quad, and calf | Builds control during stride initiation |
| Side Tap | Lateral hip (gluteus medius) | Prevents side-to-side hip sway on uneven paths |
| Rear Tap | Hamstrings and lower back stabilizers | Assists with posture and backward recovery steps |
Tap your right toe lightly about 10 inches forward, as if touching a soft patch of grass, then return it next to the left foot without resting full weight on it. Next, tap that same right foot 10 inches out to the side and bring it back. Finally, tap it 10 inches straight behind you and return. That sequence counts as one round. Aim for 4 to 6 rounds on the right leg, take a brief walking pause in place, and then switch your support to the right leg and tap with the left.
Throughout the taps, pay attention to how much pressure you put into the counter. Your hands are there for reassurance and rapid correction, but try not to lean your chest weight onto your fingers. Let the standing leg do the heavy lifting.
Tracking Your Stability Improvements Week by Week
Balance adapts at its own quiet pace. Because we do not measure balance with heavy weights or tape measures, it can sometimes feel like nothing is changing. Keeping a simple notebook near the breadbox or on the refrigerator door helps you see how much firmer your footing has become over a month or two.
You do not need complicated charts. Note down the date, how long you held your tandem stand, and the level of hand contact you used. A progression over several weeks often looks something like this:
| Training Window | Tandem Stand Target | Hand Contact Level | Tap Repetitions |
|---|---|---|---|
| Weeks 1 to 2 | 10 to 12 seconds per side | Full palms resting on counter | 3 rounds per leg |
| Weeks 3 to 4 | 15 to 20 seconds per side | Two fingertips per hand | 4 rounds per leg |
| Weeks 5 to 6 | 20 to 25 seconds per side | One fingertip per hand | 5 rounds per leg |
| Weeks 7 to 8 | 30 seconds per side | Fingers hovering a half-inch above counter | 6 rounds per leg |
Notice that the progression focuses on two variables: time spent in the position, and the lightness of your touch. If your balance feels shaky on a given morning due to poor sleep or stiff joints, simply use more hand support that day. Consistency matters far more than pushing through a wobbly morning.
Common Mistakes to Avoid at the Counter
Even simple movements lose their value if performed with poor mechanics. When we watch people try these exercises for the first time, we notice a few common habits that can easily be corrected with a bit of attention.
- White-knuckle gripping: Clinging to the counter edge with your knuckles white transfers the balance work into your arms and forearms instead of your feet and core. Try to keep your fingers open and soft on the countertop.
- Holding your breath: When people concentrate on not falling, they often lock their ribs and stop breathing. This raises blood pressure and makes muscles tense. Breathe in through your nose for 3 seconds and out through your mouth for 3 seconds.
- Staring at your toes: Dropping your chin toward your chest shifts your center of gravity forward, pulling you toward the cabinets. Keep your chin level with the floor and look straight ahead.
- Rushing the repetitions: Bouncing through heel raises using momentum skips the strength-building phase. Move at a measured tempo, counting silently to ensure your muscles are doing the work.
Moving Forward with Your Daily Routine
The beauty of kitchen counter exercises is that they require no special trip to a fitness center. You can attach these movements to routines you already keep. Practice your tandem stand while waiting for your morning bread to toast, or work through your heel and toe raises while the afternoon teapot warms on the stove. This habit pairing turns physical maintenance into a natural part of your day rather than another chore on a to-do list.
Aim to spend 5 to 8 minutes by the counter, 3 or 4 days per week. Listen to your body as you go. Mild muscle fatigue in the calves or the sides of the hips is normal, but sharp joint pain, sudden lightheadedness, or inner-ear spinning is not. If you experience persistent dizziness, have had unexplained falls recently, or are recovering from hip or knee surgery, consult your doctor or a licensed physical therapist before starting these movements. They can evaluate your individual needs and help you tailor these basic stances to your exact physical requirements.