Most of us want to stay in our own homes as the years roll along, and that means looking honestly at rooms built decades ago. Bathrooms are notoriously tricky spaces. They are full of hard porcelain, smooth tile, and hot water, yet a full renovation can easily run into thousands of dollars and create weeks of dust. You do not need to tear down walls or hire a crew with jackhammers to make this room noticeably safer by dinner time tomorrow.
Here at our shop, we talk to families every week who feel overwhelmed by catalog gear and medical supply stores. The good news is that practical changes, done with care and the right hardware, create dependable support where your body naturally needs it. By looking at how water travels and how your feet move across the floor, you can turn a slick bathroom into a steady, comfortable space on a modest weekend budget.
The Most Overlooked Wet Zones Around the Tub
When water causes a slip, it rarely happens in the middle of a dry floor. The trouble almost always starts in the transition spaces where dry tile meets soaking wet skin. The most vulnerable spot in the entire bathroom is the eighteen-inch strip of floor running directly parallel to your tub or shower edge. When you open a shower curtain or swing open a glass door, water pools right where your heels first touch down.
Another overlooked spot is the towel reach line. Many older bathrooms have the towel ring mounted four or five feet away from the tub wall, directly opposite the faucets. That forces you to lean forward, shift your weight onto one damp foot, and reach across open space while water drips off your elbows. That sideways lean is one of the quickest ways to lose your balance because your center of gravity swings outside your base of support.
You can solve these transfer problems without changing your plumbing. We recommend addressing the curtain and the towel position first through these small adjustments:
- Install a curved tension rod: A simple curved rod bows outward, giving your elbows six extra inches of space inside the stall while keeping the curtain liner snug against the tub interior.
- Add bottom-edge splash clips: Stick-on plastic clips mount to the wall tile on each end of the tub, locking the liner edges so water cannot escape around the sides.
- Mount a hook within arm's reach: Use a heavy-duty, water-resistant adhesive hook to hang your bath sheet right at the shower opening, so you can dry your face and chest before stepping out.
- Check the curtain magnets: Make sure your plastic inner liner has heavy ceramic or encased magnets along the bottom hem to pin it tight against the metal tub basin.
Picking Mats with Real Suction and Drainage
A good mat should stay planted like an oak tree, but countless decorative mats slide the moment your toes push against them. Inside the tub, you need continuous surface grip against smooth porcelain or acrylic. Outside the tub, you need a backing that grips your bathroom floor tile without curling at the corners or holding stagnant water underneath.
Inside the tub, suction cups only grip flat, glossy surfaces. If your tub floor has a built-in pebble texture, standard suction cups cannot form a vacuum seal. In those tubs, suction mats will float loose and create a serious trip hazard. For textured basins, look for natural rubber mats that rely on weight, open drainage grids, and non-suction tactile backing. For smooth basins, pick a mat with hundreds of small, independent suction cups rather than a dozen large ones, because smaller cups keep their grip even if one edge lifts.
| Mat Feature | Inside the Basin | Outside on Tile |
|---|---|---|
| Primary Material | Natural rubber or mold-resistant vinyl | Dense memory foam or woven cotton with rubber backing |
| Grip Mechanism | Multiple micro-suction cups or heavy ribbed grid | Solid thermoplastic rubber (TPR) backing |
| Water Handling | Perforated drain holes across the entire surface | Fast-wicking fibers that dry within four hours |
| Care Routine | Rinse and hang over the tub rail after every shower | Machine wash weekly; air dry to protect backing |
Outside the tub, avoid light woven rugs without backing, which bunch up under shuffling feet. Look for mats with a beveled edge that sits nearly flush with the floor, reducing the chance of catching a toe when entering or exiting. If the rubber backing on an older mat looks yellowed, cracked, or powdery, it has lost its grip and belongs in the trash bin.
Adding Battery or Plug-In Path Lighting
Waking up at two in the morning to use the bathroom is normal, but stumbling into a pitch-black hallway or blinding yourself with bright vanity lights is not. Harsh overhead bulbs shock your eyes, causing pupils to contract rapidly, which leaves you momentarily disoriented on slick tile. The goal is gentle, low-glare guidance from your bed straight to the toilet seat.
Placing your light sources down low protects your night vision while showing you exactly where the floor meets the baseboards. We suggest using motion-activated nightlights rated between 15 and 30 lumens with a warm color temperature, around 2700 Kelvin. Amber or warm white tones guide your steps without telling your brain that it is time to wake up for the day.
To set up an effective pathway, place the sensors strategically along your route:
- The baseboard outside your bedroom door: Mount a battery-operated stick-on unit about twelve inches off the floor to illuminate the hallway threshold as soon as your feet swing out of bed.
- The bathroom doorframe: Position a plug-in sensor light in a lower wall outlet so it clicks on before you cross into the tiled room. If this outlet is near a sink, make sure it is connected to a Ground Fault Circuit Interrupter (GFCI) outlet for electrical safety.
- Behind the toilet bowl: A soft, battery-powered glow directed toward the bowl provides clear orientation without requiring you to reach for wall switches with damp hands.
Test your setup by walking the route in complete darkness. You should never have to take a step into a shadow, and the sensors should trigger when you are still three feet away, giving your eyes time to track obstacles like door jambs or scale bases.
Where to Place Support Bars for Real Leverage
There is a massive mechanical difference between a towel bar and a support bar. Towel bars are held into drywall by tiny hollow anchors or short trim screws; put your weight on one during a slip, and it will rip out of the wall instantly. Support bars, often called grab bars, must be firmly anchored to carry real load.
Suction-cup grab bars are widely sold, but we urge you to treat them with extreme caution. A suction bar can help you steady your balance while washing your hair, but it will not reliably hold your weight if you fall. Over time, steam and microscopic dust break the vacuum seal without any visible warning. If you need a bar to pull yourself up from a seated position, it must be screwed directly into the wooden wall studs using three-inch stainless steel screws, or mounted using specialized hollow-wall toggle bolts rated for heavy loads. If you are not comfortable finding studs with a stud finder and driving screws, hiring a local handyman for an hour is money well spent.
Once you are ready to mount bars, leverage is everything. Placing them at random heights does not help your muscles do their job. Consider these three critical locations:
- The Entry Bar: Mount a vertical eighteen-inch bar on the outer door jamb or the outer wall directly next to the tub opening. This gives you a solid anchor to hold while stepping over the tub threshold, which is when your weight is entirely on one leg.
- The Transition Bar: Place an angled bar along the side wall inside the shower, roughly thirty-three to thirty-six inches up from the tub floor. Angling the bar at forty-five degrees allows people of different heights to grip it naturally with an unbent wrist.
- The Sit-to-Stand Bar: If your toilet sits beside a wall, mount a horizontal bar roughly thirty-two inches off the floor and extending past the front edge of the toilet bowl, giving your arms the downward leverage needed to push upward comfortably.
Choosing a Simple Shower Stool for Daily Comfort
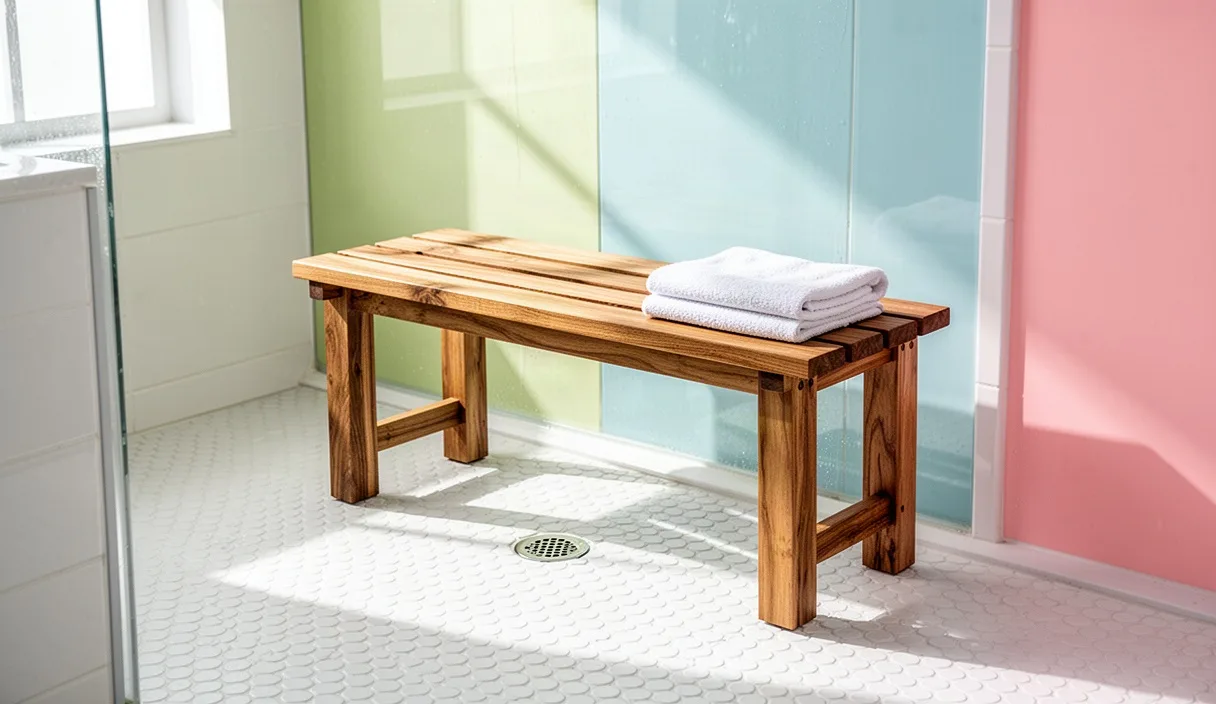
Standing on a wet, soapy surface while tilting your head back to wash your hair is demanding on your balance. A simple shower stool removes that strain entirely, turning your shower back into a relaxing ritual rather than an exercise in endurance. You do not need an institutional chair with giant wheels; a compact, purpose-built stool provides sturdy rest without cluttering the tub.
When selecting a stool, check the foot design first. Look for wide, splayed aluminum legs tipped with large, soft rubber feet that grip the floor basin through suction and surface area. The legs should have push-button height adjustments so you can set the seat height properly. When you sit down, your hips should be roughly two inches higher than your knees, and your feet should rest completely flat on the basin floor. If your knees are bent higher than your hips, standing up becomes twice as hard on your thighs and lower back.
Look closely at the seat construction. Choose a bench made from high-density molded plastic with built-in drainage holes so water never collects under your thighs. Side handles cut directly into the seat provide convenient grip points when you adjust your posture. If you have trouble stepping over the tub rim, look into a sliding transfer bench. These benches have two legs inside the tub and two legs outside on the bathroom floor, allowing you to sit down while fully outside the tub and simply slide your hips across the threshold safely.
Always pair your shower stool with a handheld shower head on a flexible metal hose, at least sixty to seventy-two inches long. Being able to bring the water spray right to your body means you never have to stand up, lean forward, or twist sideways to rinse off soap.
Common Mistakes to Avoid
Even with good intentions, small oversights can create new hazards in an otherwise careful bathroom setup. Here are mistakes we frequently see in our community:
- Relying on decorative towel bars for support: Never reach for a towel bar or a wall-mounted soap dish to balance yourself. They are not engineered to hold body weight.
- Leaving shower mats wet on the floor: A rubber-backed mat left soaking wet will trap moisture underneath, leading to mold and a slippery film of mildew that destroys the mat's grip. Hang mats up after bathing so both sides dry out.
- Using loose toilet rugs with cutouts: U-shaped rugs wrapped around the base of the toilet often lack stiff backing, causing the edges to curl and catch on slippers. A solid, heavy-backed rectangular mat positioned slightly forward is safer.
- Ignoring soap buildup: Bar soaps leave a thin film of animal fat and wax on tub surfaces over time. Even the best grip pads fail if the tub floor is coated in soap scum. Clean the floor regularly with a grease-cutting citrus or vinegar-based cleaner.
- Placing grab bars too high: A bar mounted at shoulder height forces you to pull with weak shoulder muscles instead of pushing downward with your triceps and forearm strength.
Taking the First Practical Steps
You do not have to tackle every item on this list before sunset. Making a home comfortable is a steady process of practical improvements. Start by walking into your bathroom with a notepad and wearing the slippers or socks you normally wear at night. Stand where you brush your teeth, step into the dry tub, and notice where your hands naturally reach out to steady yourself.
Pick one project to complete this weekend. Replacing a slippery rug with a heavy, beveled-edge rubber mat and adding a motion nightlight near the baseboard takes less than an hour and costs very little. If you decide to add wall-mounted support bars, check whether your walls are drywall or tile over plaster, and reach out to a certified aging-in-place specialist or a trustworthy local carpenter if you feel uncertain about finding the wall studs. Small, steady adjustments will keep your daily routine comfortable, familiar, and safe for years to come.